Introduction
Unmanned Aerial Systems (UAS) are commonly used to survey locations to create digital surface models (DSM). To accurately develop the DSM ground control points (GCP) are used as markers and have associated Lat/Long coordinates. These markers must be visible from the air and recorded with a survey GCP to be accurate. Some GCPs are able to collect data about their locations independently over time or are surveyed on the ground with additional equipment fo the best results. UAS operations use these GCPs to better calibrate the data collected but special notes need to be taken to coordinate the information all together. These notes include the GCP location measured, imagery of the GCP and coordinate system used.
Methods
There is an application that can be used to practice this is and record your own points and use them in ESRIs ArcGIS that we have already used. On IOS this is called Collector for ArcGIS. After downloading it we can try it. We will be following the
Try Collector tutorial.
After clicking try I selected the Parks map. It took a second for the app to center on my location. (Figure 1) There is a minimum accuracy of 30 ft to your location in order to add an item to your map and a maximum accuracy of 15 ft.
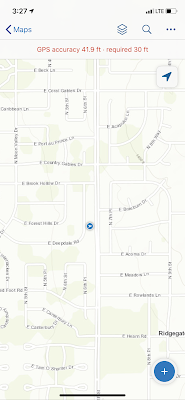 |
| Figure 1: Base Map |
Once you have been located I was able to add things around my park to my map by standing over or next to them and pressing the blue plus button the bottom right of the base map (Figure 1). This takes your location and brings up a list of items you can associate with it. (Figure 2)
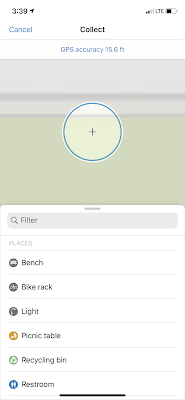 |
| Figure 2: Adding a Fixture to the Map |
I was standing by a picnic table at the time so I added it to the map. I. then added a photo and a description noting the reason for the caution tape that would not normally be there. (Figure 3) Once done I tapped submit in the upper right of the screen. I received conformation (Figure 4) that it was added and could see it on my map.
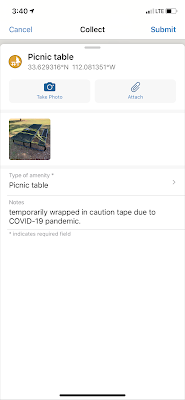 |
| Figure 3: Adding a Picnic Table |
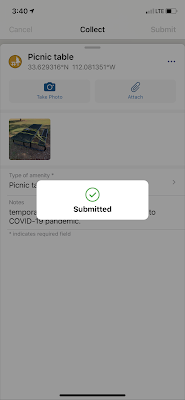 |
| Figure 4: Item Submission Conformation |
Following the tutorial, I added a path in my park. Unfortunately the only path I have in the northern park of my park is the perimeter sidewalk, so that is what I added. Beginning at a random spot on the path, I added it the same way as the picnic table but clicked path. When the form pulled up I taped the three dots next to the name and started streaming my location. (Figure 6) When I was back to where I started I submitted it and It was added to my map. (Figure 7)
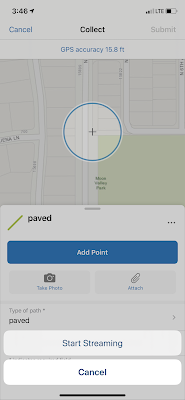 |
| Figure 6: Streaming Your Location to Map Paths |
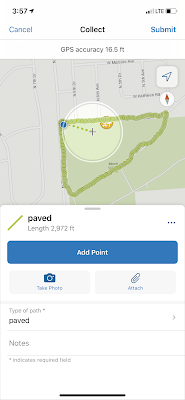 |
| Figure 7: Picnic Table and Paved Path on Map |
After some work I finished mapping the northern part of my park, adding other features. (Figure 8)
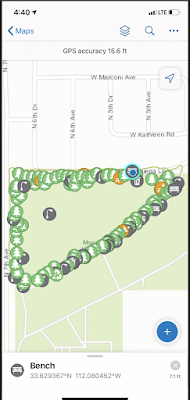 |
| Figure 8: Completed Northern Part of My Local Park |
Moving to ArcGIS Online, I logged in and developed a similar simple version of the layer by following the
Make Your First Collector Map tutorial.
After logging in I went to Content and in My Content I clicked Create and Feature Layer. This pulled up a list of layers I could add. Selecting the Build a layer and selecting Points, lines, and polygons. Then the Create button.
I renamed the Point layer to Places, the Line layer to Paths, and Polygon layer to Areas. Moving on I named it KG Parks and done, creating the layer.
In this layer I went to Data tab, Fields, then checked that Places was selected in the Layers drop down menu on the left side. I then clicked Add to add a field and filled in the sections of the popup window as seen in figure 9.
 |
| Figure 9: Add Field Popup Window and Value Names & Categories |
Selecting Type of amenity, Display Name, then Create list, I can create and define entries for items around the park. (Figure 10)
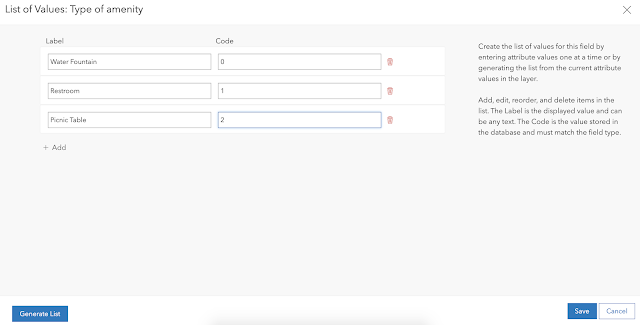 |
| Figure 10: Place Item List |
Then a section was created for notes and attachments were enabled for each section.
Moving to Map View, a new map was created and named Parks. Names were corrected in the left column and the colored shapes were selected to change the symbols of the place locators. (Figure 11)
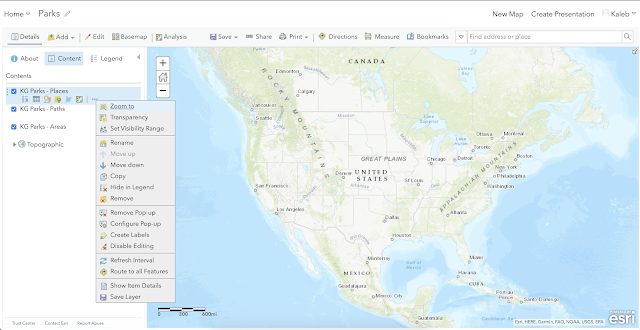 |
| Figure 11: Map view with a drop down menu showing name change and symbol changing feature |
By clicking the dots next to each label a popup window was opened and the Government category was selected to get the symbols we are familiar with from the tutorial. (Figure 12)
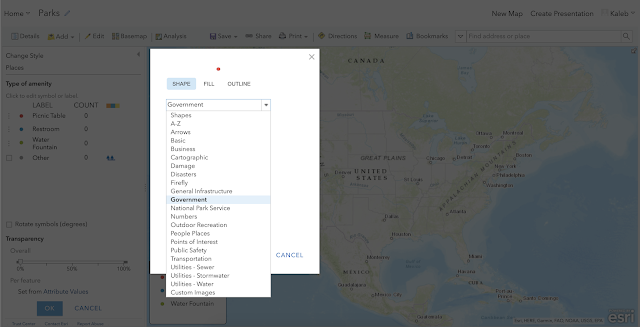 |
| Figure 12: Type of amenity table with symbol change popup window |
Once this was done, I clicked okay and done to leave the amenity changer. The edit tab was selected in the top bar, then manage, and save changes. this saves our changes to the symbols and saving the map pushes out our changes to the mobile device. (Figure 13)
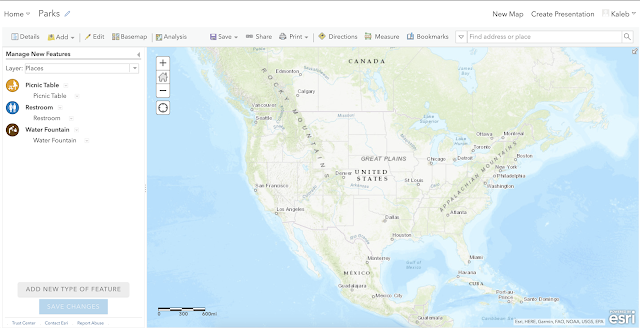 |
| Figure 13: Changed symbols and finished map modifications before field exercise |
Now I can move to my mobile device and go out and do the tutorial exercises again with what I created.
Discussion
Being able to create custom layers is very helpful in defining an area for a flight. I gathered the lat and long location of features in a area. Taking picture of each item to help define one item from another and writing out notes to further define the individuality of a feature. In UAS operations we do this to provide better data outputs and mend orthomosaics.


Comments
Post a Comment